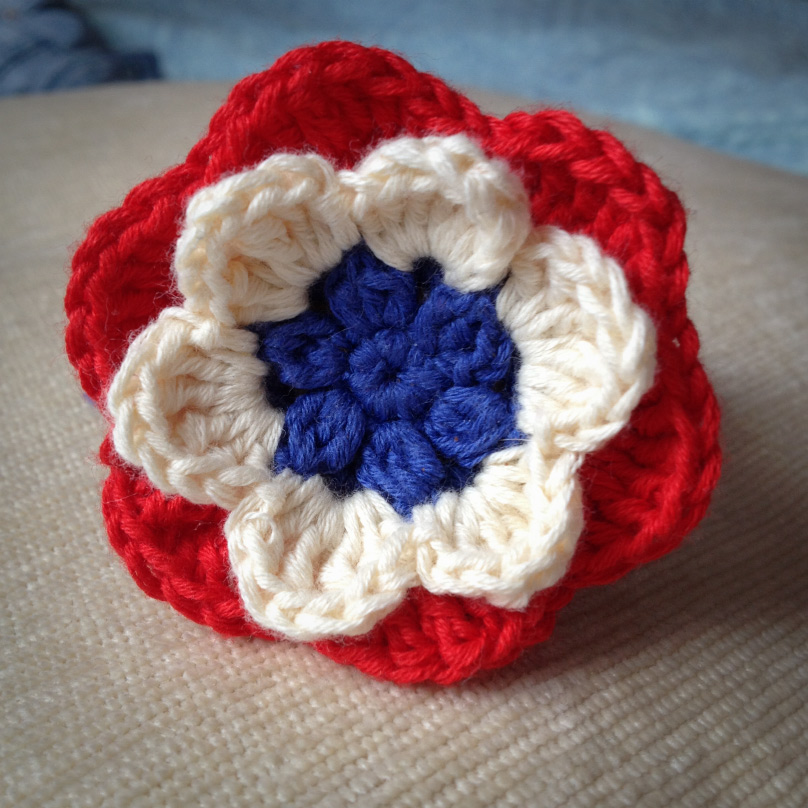
Делюсь схемой вязаного крючком цветка
This is a pretty easy pattern for a nice crocheted flower. I used it to decorate cardigan for my little Marge.
 Привет, странник!
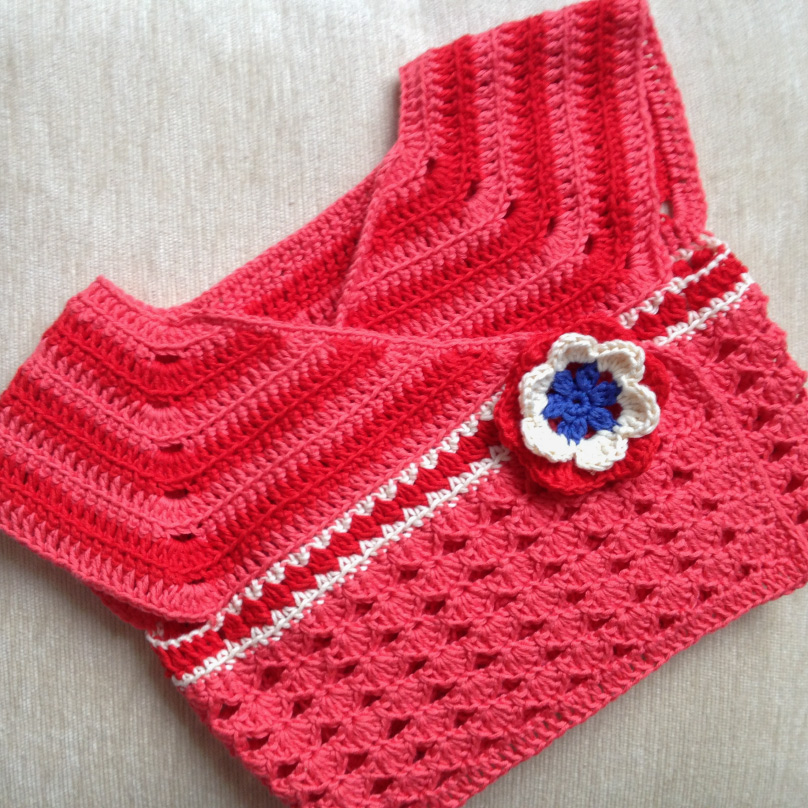
Finally, Marge can try her new short-sleeve cardigan in the colours of a red poppy and a blue knapweed field! As I wrote in a previous post, I’ve searched for a nice and not so common pattern for a baby-girl cardigan, but haven’t found any, and decided to design one by myself. It came out so nice and work on it was so enjoyable, that it would be just wrong to keep the pattern within myself rather than share it.
Also I would be really happy to hear that someone used this pattern and managed to make this cardigan. So, if you intend to try this, please, take a picture of a result and share it with me!

All these reflections just fascinate me!
Yes, our little baby girl is two month old already! She grew a lot, we spent past month under a sunshine of her smiles. She likes to talk and also learned to cry when she desperately needs something. It’s not like she hasn’t cried before, but this cry is somehow different from the one she did in her first month. So this is also a sign that she is getting older. Past few days of her life are also remarkable for Marge’s discovery of her fists. She stacks them into her mouth and intently munches her fingers with a unconcerned look. It seems that I have to hurry with a mobile I wanted to make for her, or I’ll miss the right time.
As Marge grows her sisters change as well. Their intention to help me with Marge is so huge that I can step aside and just watch their energy flowing in a right place. I haven’t seen so much initiative for months! They wash dishes (even though it has been my prerogative before), help me cook, hang clean clothes, through away used diapers. They even don’t mind entertaining Marge for a little bit if I need to leave the room for a moment. I am really proud of my girls!
I’ve started a new crochet cardigan for Marge lately. I’ve searched for a nice and not so common pattern for it, but haven’t found any. So it was decided to make one by myself. I actually have already started bringing to life my idea and crocheted four rows, but then realized, that I had made a mistake in the very first stitch of the first row! Can you imagine my disappointment when I had to rip it all out and start over my project!
Though May is almost over, it is still enough time for mayflowers to bloom and May thunderstorms to moisturize the air through nights. I saw a great thundercloud through kids room’s window yesterday. I hardly had time to take a picture, the cloud had covered all of the skies and it started pouring. However, it didn’t rain too long, not more than a few minutes. Now i’m looking at my daughters’ paintings of a rainy day from their art class and feeling really inspired to paint one by myself. I wish I had a time for this!
Oh, I love summer rain with it’s warm puddles!
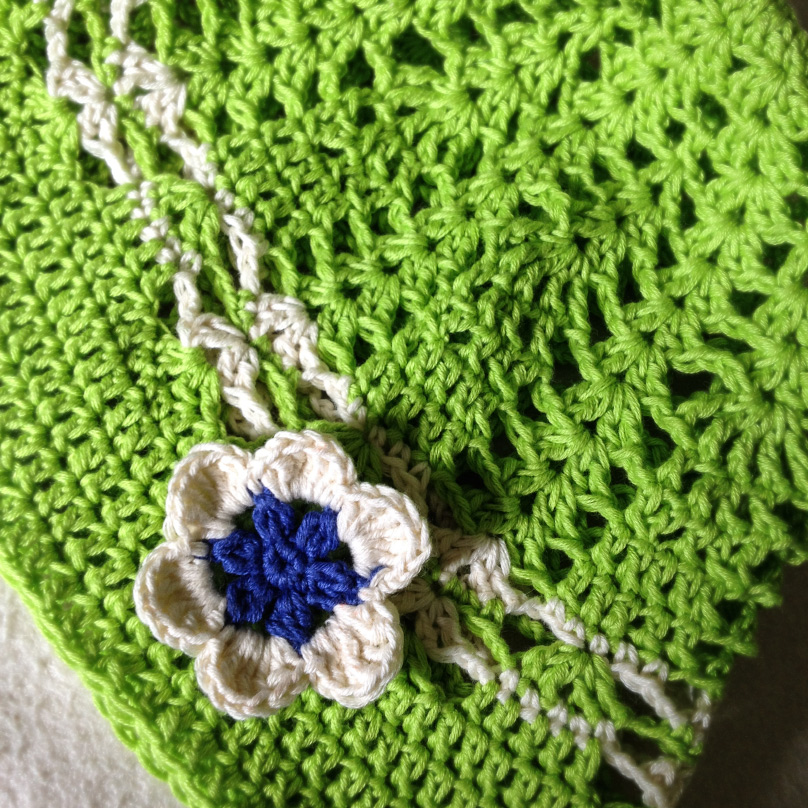
All of a sudden a heat wave came across Riga. But it won’t prevent me from sharing a pattern of Veronika’s new hat.
Перевод на русский следует ниже 🙂.
Being a mom means killing a child inside your head for it’s resurrection in your eternal memory later to give you an ability of making decisions not only in order to please yourself or meet your own wishes.
Being a mom is love.
Being a mom means giving your baby a chance to correct his mistake instead of blaming for his failure.
It means giving a hug, instead of a preach.
Being a mom takes a lot of patience to listen even when you think there’s nothing worthy to be said and be quite even when you are overflowing with words.
Also it is understanding, there is no doubt that what’s need to be done has to be done, but the most important need is trying to reach peace without war and do it without yelling.
And it is understanding, that your negative evaluation of a deed or event your kid is excited about won’t make him feel the same way as you do about it, but he will definitely feel a rejection from you. So save your esteems for someone you don’t like.
Being a mom means trying not to fall into habit of controlling every step of your precious child while taking care of his safety. It also means keeping noticing even the smallest initiative of your little one and treat it with care, trying not to suppress it.
Be still and stable as a rock, when your child is all like the ocean in a stormy day, to be able to help this ocean to calm down only by means of your tender and secure voice and look.
Letting him grow, watching aside and wondering, how your kid’s personality develops, but not trying to change it your way. Once given a life your child will live it by himself.
Yes, being a mom is a huge work. So I thank my mom she did it for me once.
I love You, mom!
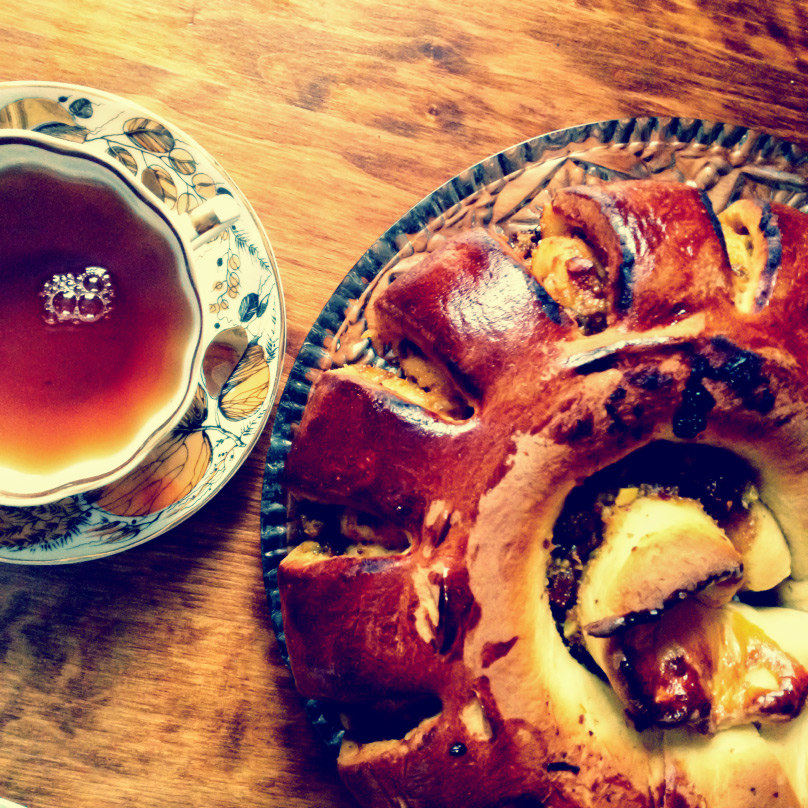
And, mom, thanks for that delicious pie You made us on a Mother day.
Быть мамой, значит любить.
Быть мамой значит убить в себе ребёнка, а потом навечно воскресить его в памяти, чтобы научиться жить не только ради себя и своих желаний.
Быть мамой значит давать своему ребёнку шанс исправить ошибку вместо того, чтобы упрекать за неудачу.
Это значит обнимать, а не отчитывать.
Быть мамой требует много терпения, чтобы слушать, даже если думаешь, что ничего ценного тебе не скажут, чтобы молчать, даже если считаешь, что сейчас взорвёшься от количества невысказанных слов.
А ещё это понимание того, что есть слово “надо”, но самое важное “надо” — это достигать исполнения необходимого без крика.
Это понимание того, что твоя негативная оценка события или поступка, которым восхищается твой ребёнок, не заставит малыша изменить свои чувства, но он совершенно точно почувствует твоё неприятие. Поэтому сбереги свои оценки и суждения для того, кого не особо любишь.
Быть мамой значит стараться не превратить беспокойство о безопасности своего малыша в непрерывный контроль каждого его шага. А ещё это значит быть внимательной и замечать даже самое маленькое проявление инициативы, чтобы поддержать и не задавить её.
Быть спокойной и стабильной, как скала, когда твой малыш словно бушующий океан, чтобы быть способной успокоить его одним нежным взглядом и уверенным голосом.
Позволить ему расти, лишь наблюдая со стороны и удивляясь, как развивается его личность, не пытаясь её поменять. Единожды дав жизнь малышу, дать ему самому её жить.
Да, быть мамой — это большая работа. Поэтому я говорю спасибо своей маме, которая когда-то уже проделала эту работу ради меня.
Я люблю Тебя, мама.
И Твой пирог в воскресенье был очень вкусен!
Dear english readers: please scroll down.
Май пришёл в Ригу с холодной, ветренной погодой. Смотря на уже совсем уверенно зелёные деревья за окном, совсем не хочется верить цифре, которую показывает градусник. Температура снова опустилась до 7 градусов. Зато весенняя прохлада в доме — отличный повод согреться за выпечкой овсяных печений по новому рецепту.
С последнего занятия по рисованию дочки принесли мне по нарисованной вазе с подсолнухами и самый настоящий букет одуванчиков.
А в соседней ваза большой букет тюльпанов от мужа.
Я всерьёз задумалась о митенках, но пока подыскивала себе идеи на Pinterest, случайно вдохновилась вязанными сапожками для малышей. Марго не будет лишним погреть ножки, пока дома так холодно. Экспериментирую.
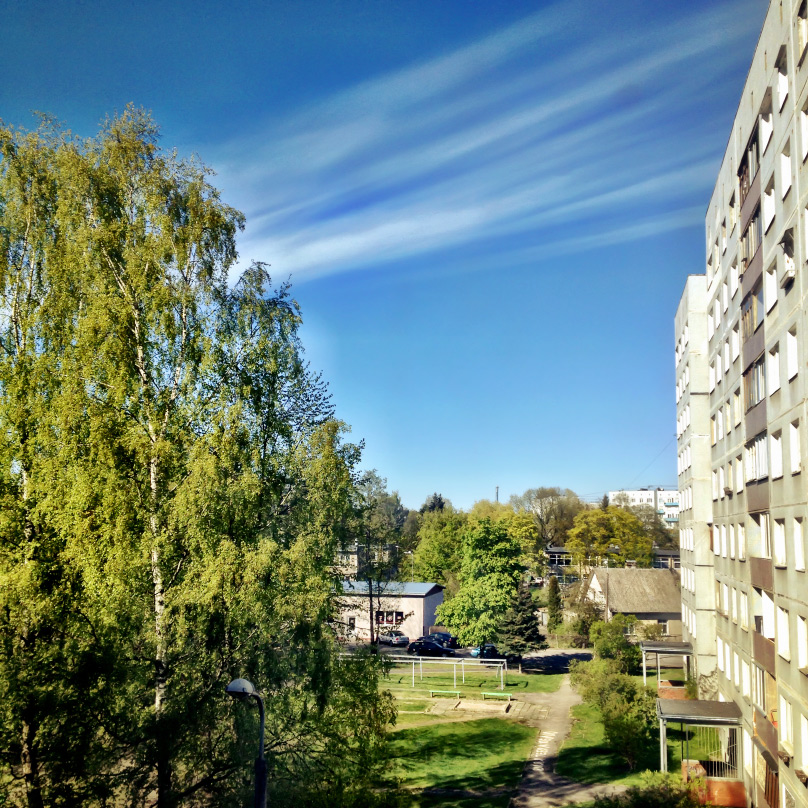
А вот таким был апрель за нашим окном: тёплым, в основном солнечным и очень живописным!
May came to Riga with a cold windy weather. Actually it’s hard to believe that thermometer isn’t lying about 7 degrees Celsius while looking at so confidently green trees outside. On the bright side, this spring chill gives a great opportunity to try out new oatmeal cookies recipe.
Daughters brought me pictures of sunflowers from their last art class and one real bouquet of dandelions. A big bouquet of tulips in a vase next to dandelions is from my husband.
I’m pretty positive in my desire to crochet myself new mittens. But while I was looking for some cool ideas in Pinterest, I unintentionally got inspired by crocheted baby boots. It won’t hurt to warm Marge’s feet while it’s so chilly here. Experimenting right now.
Warm and sunny April is on my last picture — this is how it’ll stay in my memory.
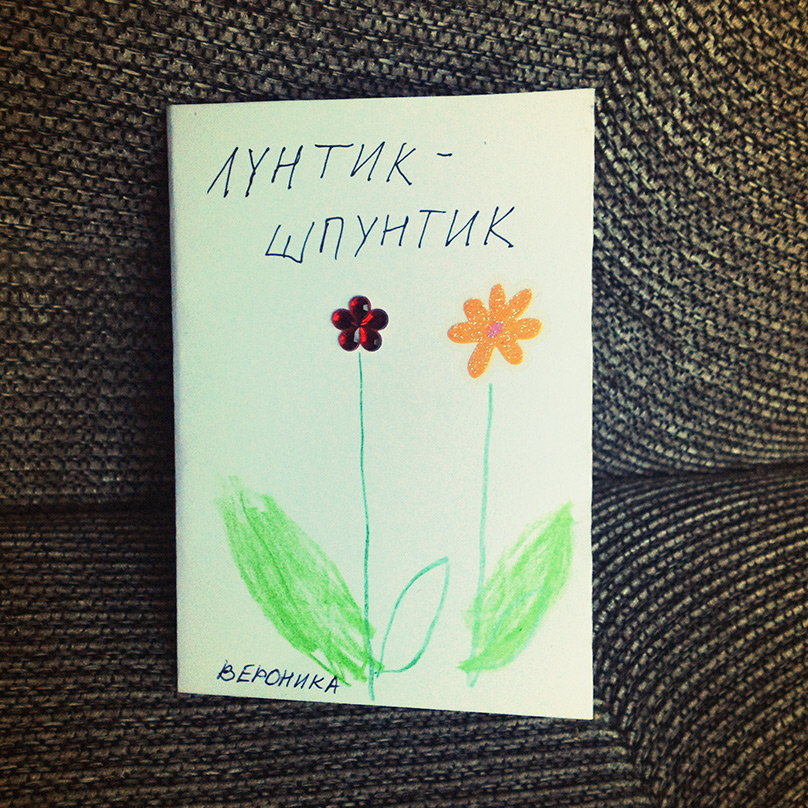
One article from a foreign blog caught my attention a few days ago . It was about different ways of stickers’ usage in children’s activities. There was one point that I liked most. It was about writing and illustrating your own tiny book. The original idea was taken from the Nurture Store blog. I decided to give it a try.
We’ve always liked stickers, so I had some in my drawer and we could try the idea in the same day.
The result was even better than I had expected. Children accepted new challenge with a great enthusiasm. And of course stickers made this activity more attractive in children eyes.
Anastasia made a book about flower fairies. She wrote a story and illustrated the book all by herself. Veronika did a pretty nice work too, but it was hard for me to keep her within few characters per one story. She doesn’t write yet, so I did it instead of her. She told me the story, that I helped her to turn into short clear sentences and then wrote it down.
We made two books with Veronika. I suggested to her a plan of how to write a story:
С Вероникой мы сделали 2 книги. На второй раз я ей предложила следующий вспомогательный план:
The second book Veronika made backwards: in front was the last page and the book itself had to be read from the back to the front. Dealing with this issue, we decided to put page numbers. Veronika promised me to be more careful next time. We made our books using French folding as it was suggested in the original post. Book had six pages and every two of them could be devoted to one point of the plan.
Our written stories can be read by kids to each other or for toys. We liked this activity a lot and we’ll do it again for sure!
Наклейки, конечно, можно использовать любые, но мне очень нравятся из серии Deco, что продаются в книжном Jāņa Roze. В каждой упаковочке по три (одинаковых) листика с симпатичными наклейками. Например, такие.
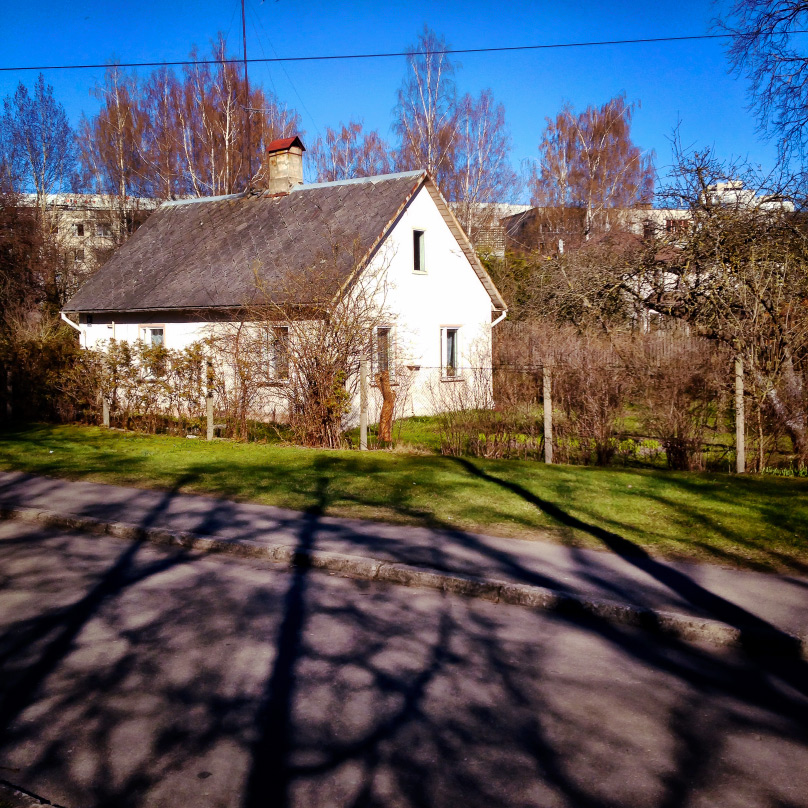
Что лучше всего получается на фотографиях в солнечные весенние дни? Тени! Ажурные чёрные сплетения теней веток, пока ещё не одетых в зелёные летние шубы и шапки, на фоне салатовой молодой травки.
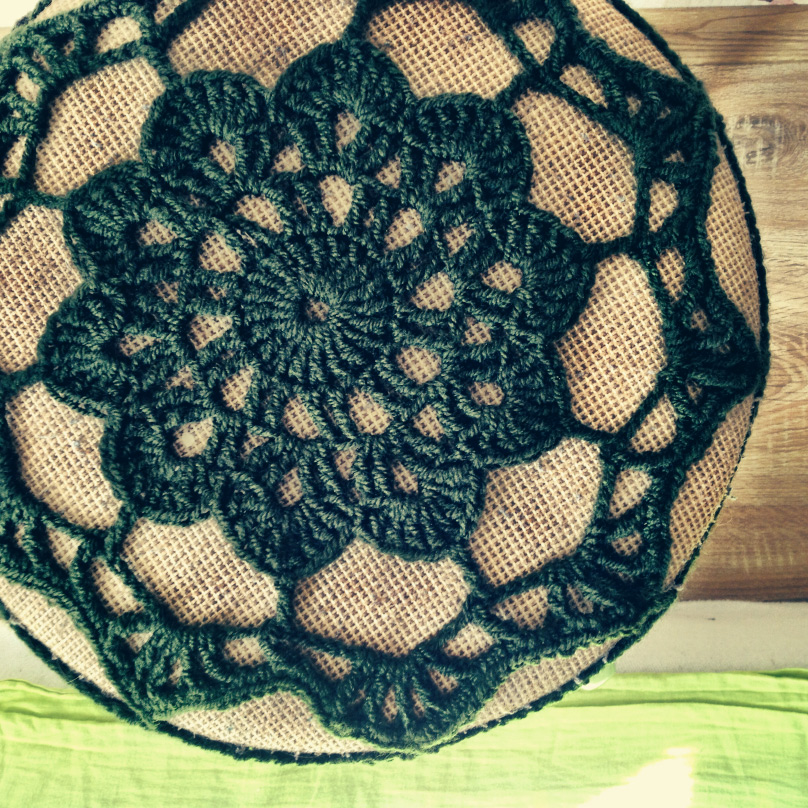
A few days ago I stumbled upon a wonderful idea of crocheting a stool cover with a hook of a big size. This had inspired me, and today I have a result of my own. Our kitchen stools has a completely new look now. We have a rather dark and partly green colored kitchen, so it was great to find in my stash one dark green skein of DK yarn. Though it was barely enough of this skein.
My order from the Hobbyset.lv online shop has arrived yesterday. Now we have a pile of plastic eggs for a realisation of our crafty ideas. And also a lot of jars for my beads. The site had mentioned the exact size of the jars, but still I was expecting for them to be somewhat larger. But still, to have them is better than not to have. Though a part of the beads had to stay in packs.
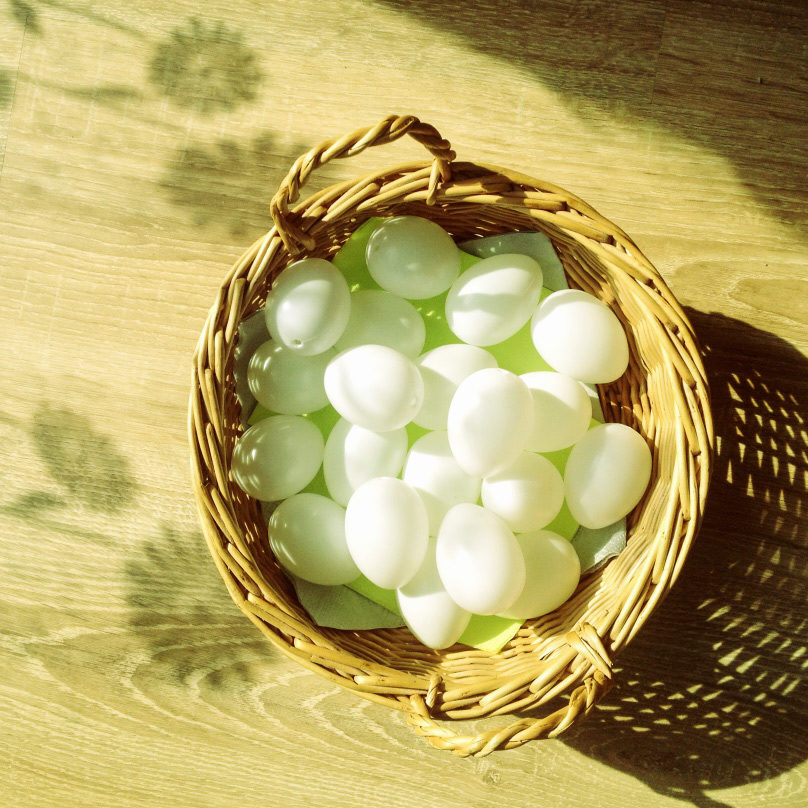
And maybe it just happening in my mind, but it seems that it’s finally getting greener outside!
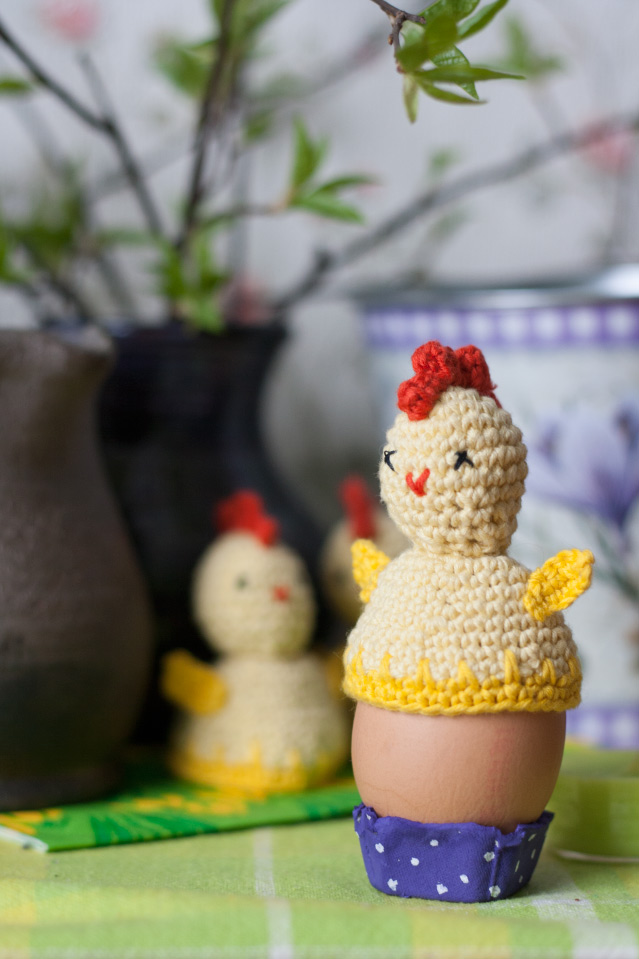
These beautiful little Easter Roosters will be happy to join you on your Easter brunch!
I used Alize Bella yarns for my roosters and a 2 mm hook.
You will need:
– a small amount of a light yellow cotton yarn,
– even smaller amount of bright yellow and red cotton yarn,
– a black thread,
– needle,
– stuffing and a marker (optional).
See this page for abbreviations used in this pattern.
Take the light yellow yarn. Crochet the rows in a continuous spiral.
Ch 4, join to make a ring.
Rnd 1: Work 6 SC into the ring (6 sts all together).
Rnd 2: Work 2 SC into the each st of the row (12 sts all together).
Rnd 3: * [Work 2 SC into the next st, then work 1 SC into the second st]. Repeat 5 times from * (18 sts all together).
Rnd 4: * [Work 2 SC into the next st, then work 1 SC into each of the next 5 sts]. Repeat 2 times from * (21 sts all together).
Rnd 5: * [Work 2 SC into the next st, then work 1 SC into each of the next 6 sts]. Repeat 2 times from * (24 sts all together).
Rnd 6-7: Work 1 SC into each of the sts along the row. (24 sts all together).
Rnd 8: * [Work 1 SC decrease across the next 2 sts, then work 1 SC into each of the next 6 sts]. Repeat 2 times from * (21 sts all together).
Rnd 9: * [Work 1 SC decrease across the next 2 sts, then work 1 SC into each of the next 5 sts]. Repeat 2 times from * (18 sts all together).
Rnd 10: * [Work 1 SC decrease across the next 2 sts, then work 1 SC into the next sts]. Repeat 5 times from * (12 sts all together).
Rnd 11: Work 1 SC into each of the sts along the row. (12 sts all together).
Fasten off the thread and leave a long end in order to use it later for sewing together the head and the body.
Светло-жёлтой нитью наберите 4 в.п., соедините в круг. Вяжите по спирали.
1) 6 ст.б.н. в круг (всего 6).
2) 2 ст.б.н. в каждую петлю (всего 12).
3) * [2 ст.б.н. в 1 петлю, 1 ст.б.н. в 1 петлю], повторить 5 раз от * (всего 18).
4) * [2 ст.б.н. в 1 петлю, 1 ст.б.н. в каждую из след. 5 петель], повторить 2 раз от * (всего 21).
5) * [2 ст.б.н. в 1 петлю, 1 ст.б.н. в каждую из след. 6 петел]ь, повторить 2 раз от * (всего 24).
6-7) 1 ст.б.н. в каждую петлю ряда (всего 24).
8) * [2 ст.б.н. вместе, 1 ст.б.н. в каждую из след. 6 петель], повторить 2 раз от * (всего 21).
9) * [2 ст.б.н. вместе, 1 ст.б.н. в каждую из след. 5 петель], повторить 2 раз от * (всего 18).
10) * [2 ст.б.н. вместе, 1 ст.б.н. в след. петлю], повторить 5 раз от * (всего 12).
11) 1 ст.б.н. в каждую петлю ряда (всего 12).
Оставить длинный конец нити, чтобы потом было удобно пришивать голову к туловищу.
Now that the head is ready, you can make the comb.
Take the red thread and stitch 8 chain stitches across the top of the head as it is shown on the scheme #1. Take the end of the thread underside, fasten off and cut it off.
Now begin crocheting the comb. Start from the front (the comb sits lower on the back side) and crochet according the scheme #2:
Row 1: make a slip knot, insert the hook into the first chain and pull through a loop of the thread, chain 1 (will count as the first SC). Work 1 SC out of each of the other stitches. Turn.
Row 2: Ch 1 (counts as the first SC), work 1 DC out of the second st from the hook, work SC in the same st. 1 SC in the next st.
* [Work 1 SC out of the next stitch, then 1 DC, 1 half TR, 1 DC and 1 SC all out of the same stitch. Work 1 SC in the next st]. Repeat from the * one more time.
Work 1 SC out of the next stitch, then 1 DC, 1 half TR and 1 DC all out of the same stitch.
1 SC in the next st. End with a sl st in the head. Cut the thread off, but be sure to leave a pretty long tail (about 8 inches/ 20 cm) to be able to stitch the knob with it too.
Now that the comb is ready, fill the head with the stuffing and bring the thread through the head with the needle to the place where the knob should be and stitch it. Bring the thread inside and to the bottom of the head and cut the tail off. Stitch the eyes with the black thread and bring the thread inside and to the bottom of the head and cut the tail off.
Поперёк макушки будущей курочки, в том месте, где надо быть гребешку, вышить красной нитью тамбурным швом 8 петель (рис. I). Нить вывести вовнутрь головы, закрепить и обрезать.
Начиная спереди курочки, связать гребешок по схеме (рис. II):
1) Сделать петлю, ввести крючок под первую вышитую петлю, протащить через неё петлю и связать 1 в.п. (будет считаться за первый ст.б.н.). 1 ст.б.н. в каждую следующую петлю рада. Поворот.
2) * [1 ст.б.н. в след. п., затем 1 ст.с н., 1 п/ст.с н., 1 ст.с н. и 1 ст.б.н. в ту же п. В след. п. провяжите 1 ст.б.н.], повторить ещё 1 раз от *.
Провяжите 1 ст.б.н. в след. п., затем 1 ст.с н., 1 п/ст.с н. и 1 ст.с н. в ту же п. В след. п. провяжите 1 ст.б.н. Закончите вязать гребешок, провязав соед.п. уже за последней вышитой п. Отрежьте нить, оставив достаточно длинный хвостик (сантиметров 20), чтобы можно было им ещё вышить клюв.Набейте голову наполнителем.
Нить выведите в то место, где будет клювик и вышить клюв галочкой двумя стежками. Нить выведите вниз головы и отрежьте.
Вышейте глаза чёрной нитью крестиками. Нить выведите вниз головы и отрежьте.
Take the light yellow yarn and Ch 4, sl st to make a ring. Crochet the rows in a continuous spiral.
Rnd 1: Work 1 SC out of the ring and place the marker in it. Work 5 more SC out of the ring. (6 sts all together)
Rnd 2: Work 2 SC in each of the next 6 sts starting with the first SC of the previous row, the one with the marker. Don’t forget to replace the marker to the first st ofnthe current row. (12 sts all together)
Rnd 3: * [ Work 2 SC out of the next st, work 1 SC in the next st]. Repeat 5 more times from the *. (18 sts all together)
Rnd 4: * [ Work 2 SC out of the next st, work 1 SC in each of the next 5 sts]. Repeat 2 more times from the *. (21 sts all together)
Rnd 5: * [ Work 2 SC out of the next st, work 1 SC in each of the next 6 sts]. Repeat 2 more times from the *. (24 sts all together)
Rnd 6: * [ Work 2 SC out of the next st, work 1 SC in each of the next 7 sts]. Repeat 2 more times from the *. (27 sts all together)
Rnd 7: * [ Work 2 SC out of the next st, work 1 SC in each of the next 8 sts]. Repeat 2 more times from the *. (30 sts all together)
Rnd 8: * [ Work 2 SC out of the next st, work 1 SC in each of the next 14 sts]. Repeat 1 more times from the *. (32 sts all together)
Rnds 9-11: Work 1 SC in each of the sts of the row. (32 sts all together)
Continue with the bright yellow thread.
Rnd 12: * [Work 1 SC into the next st, work 1 long SC into the SC from the two rows below]. Continue in the same way across the row. (32 sts all together)
Rnd 13: Work 1 SC in each of the next 16 sts. Make a tail, then go on working 1 SC into each of the sts until the row ends. (32 sts all together)
Fasten off.
Светло-жёлтой нитью наберите 4 в.п., соедините в круг. Вяжите по спирали.
1) Провяжите 1 ст.б.н. в круг и зацепите за него маркер. Провяжите ещё 5 ст.б.н. в круг (всего 6).
2) 2 ст.б.н. в каждую петлю, начиная с той, на которую был помещён маркер. Не забудьте переставить маркер на первую петлю текущего ряда (всего 12).
3) * [2 ст.б.н. в 1 петлю, 1 ст.б.н. в 1 петлю], повторить 5 раз от * (всего 18).
4) * [2 ст.б.н. в 1 петлю, 1 ст.б.н. в каждую из след. 5 петель], повторить 2 раз от * (всего 21).
5) * [2 ст.б.н. в 1 петлю, 1 ст.б.н. в каждую из след. 6 петель], повторить 2 раз от * (всего 24).
6) * [2 ст.б.н. в 1 петлю, 1 ст.б.н. в каждую из след. 7 петель], повторить 2 раз от * (всего 27).
7) * [2 ст.б.н. в 1 петлю, 1 ст.б.н. в каждую из след. 8 петель], повторить 2 раз от * (всего 30).
8) * [2 ст.б.н. в 1 петлю, 1 ст.б.н. в каждую из след. 14 петель], повторить 1 раз от * (всего 32).
9-11) 1 ст.б.н. в каждую петлю ряда (всего 32).
Сменить нить на ярко жёлтую.
12) Провяжите 1 обыкновенный ст.б.н. в след. п., 1 длинный ст.б.н. в след. п., вводя крючок на ряд ниже. Продолжайте в том же духе до конца ряда (всего 32).
13) 1 ст.б.н. в каждую из след. 16 п., сформируйте хвостик, продолжайте вязать по 1 ст.б.н. в каждую след. п. до конца ряда (всего 32).
Отрежьте и закрепите нить.
To make a wing, take the bright yellow thread and follow the 3d scheme:
Ch 7.
Row 1: Work 1 SC into each of the next 5 sts starting from the second ch from the hook. Turn.
Row 2: Work 1 SC into each of the next 3 sts starting from the second st from the hook and end with a sl st into the next st.
Fasten off, but leave the tail long enough to use it for stitching the wing to its place.
Вяжите ярко-жёлтой нитью по схеме (рис. III):
Наберите 7 в.п..
1) Провяжите по 1 ст.б.н. в каждую из след. 5 п., начиная со второй в.п. от крючка. Поверните вязание.
2) Провяжите по 1 ст.б.н. в каждую из след. 3 п., начиная со второй п. от крючка. Закончите с помощью соед.п. в след. п.
Затяните нить и отрежьте, оставив достаточно длинный хвостик, чтобы с его помощью прикрепить крыло на место.
Assembling.
Sew the head to the body with an invisible stitch, inserting the needle under the second row of the body and behind the posts of the last row of the head.
Sew on the wings.
Happy crocheting!